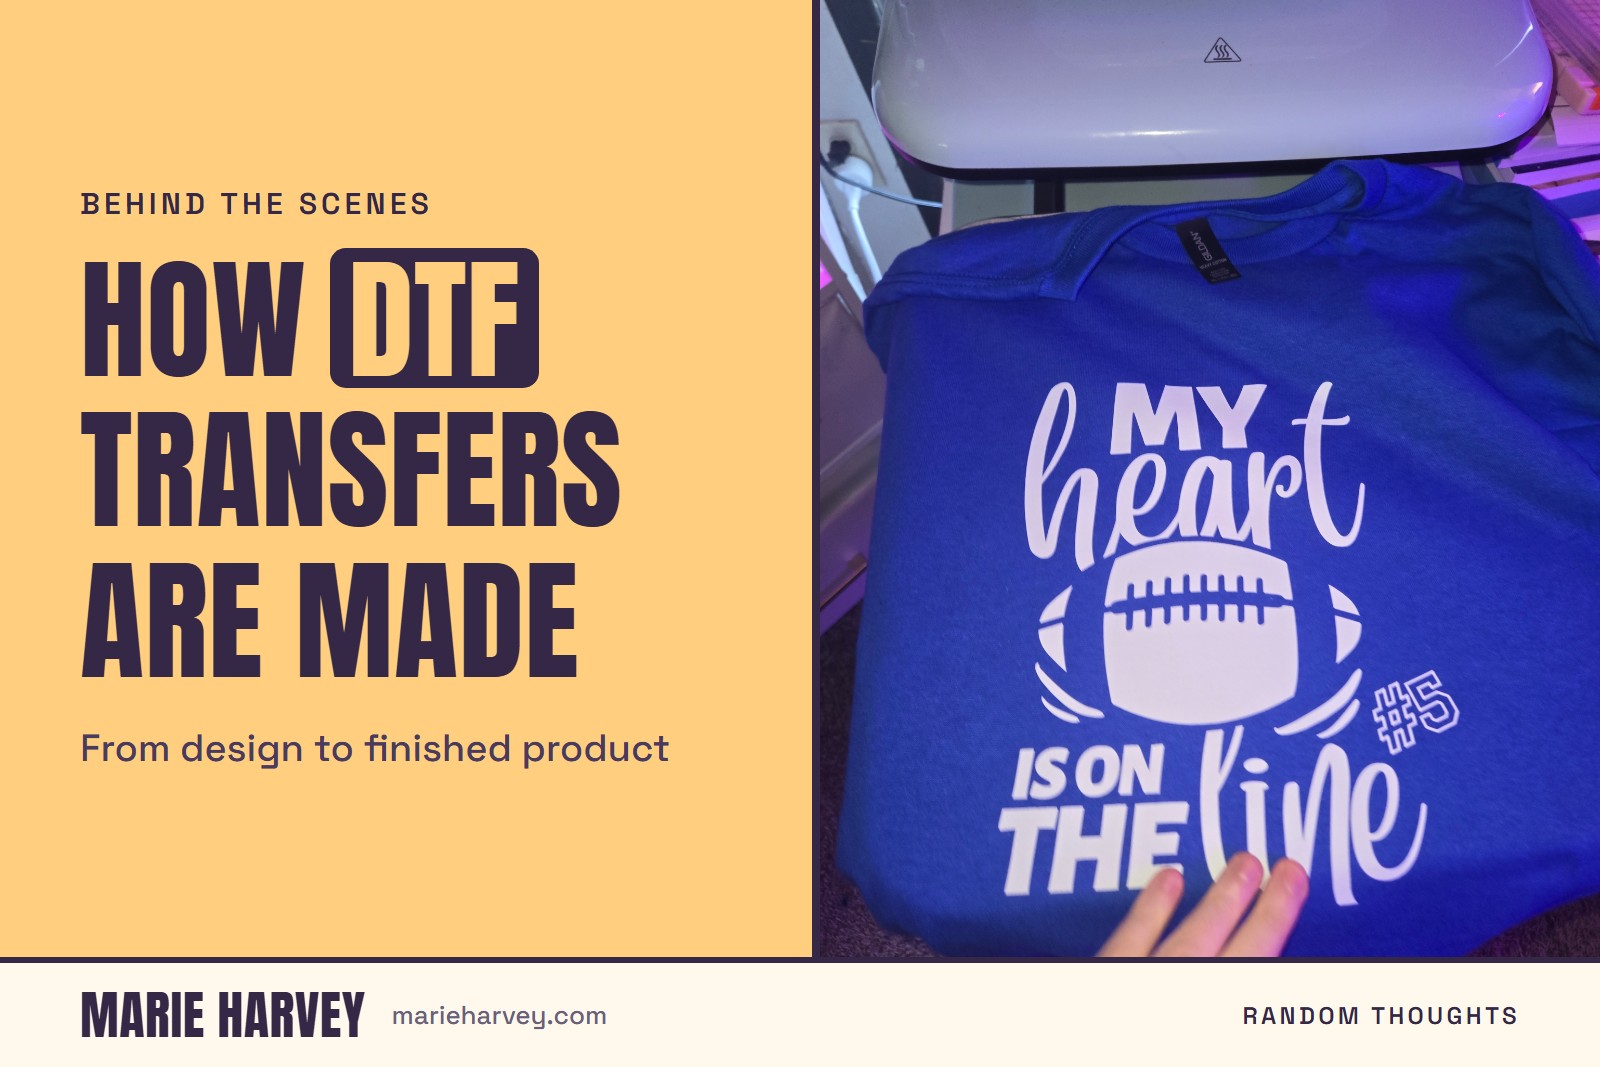
A DTF transfer looks simple by the time it lands in someone's hands — press it, peel it, done. What happens before that point is a full process, and it's one I run myself, start to finish, using my own printer, film, ink, powder, and heat press rather than outsourcing to a print-on-demand service.
Printing the design onto film
It starts with printing the design onto a special transfer film using a DTF printer and DTF-specific inks. This is where color accuracy and detail actually get locked in — if something's off here, it shows up in the final product, so getting this step right matters more than any other part of the process.
Applying and curing adhesive powder
Once the design is printed, adhesive powder gets applied to the wet ink and then cured. This is the step that actually makes a transfer "ready to press" — without it, the design would just sit on top of fabric instead of bonding to it. Getting the curing right is what makes the difference between a transfer that lasts and one that cracks or peels after a few washes.
Quality-checking before it ships
Every transfer gets checked before it goes out. Because I'm running the whole process myself — not relying on a third-party print-on-demand service — I'm the one catching any issue before a customer ever sees it. That's slower than outsourcing, but it means nothing ships without someone actually looking at it first.
Why running your own equipment matters
Owning the entire process — printer, film, ink, powder, heat press — means every transfer that goes out the door has genuinely passed through my hands. There's no middle step where quality is out of my control. That's a real tradeoff: more equipment, more time, more to manage. But it also means the finished product is something I can actually stand behind, because I made it, not a factory I never see.
If you've ever wondered what's actually happening between "I designed this" and "here's your ready-to-press transfer," that's the process — start to finish, one shop, one person, every time.